This is a tutorial on how to make a corner bookmark.
There are lots of pictures, and almost no text.
I hope you like it, and that it will inspire you to make one too:O)
Happy crafting!!!
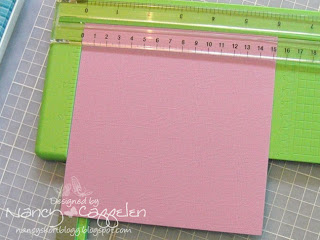
Cute one 6" x 6" cartong
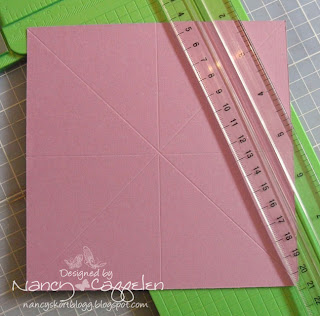
Score in half, turn and score in half (a cross)
Score from corner to corner (a star pattern)
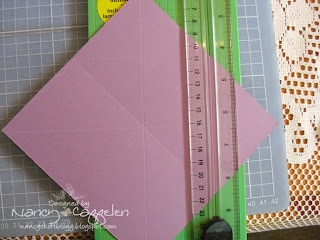
Score as shown in the picture
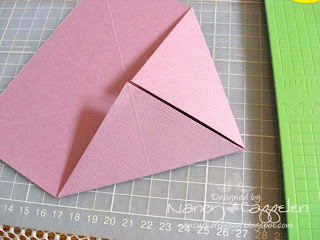
Fold the corners
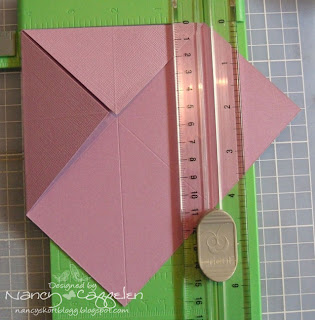
Cut as shown in the picture
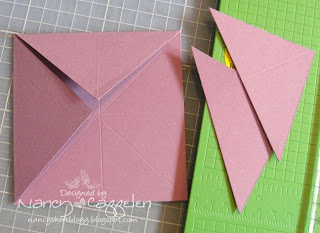
And cut the other corner so you end up with a square with two folded corners
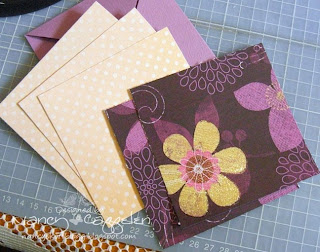
Cut 3
4" x 4" squares in pattern paper 1
Cut 2
3 3/4" x 3 3/4" squares in pattern paper 2
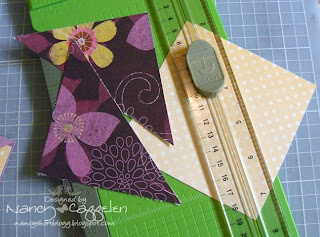
Cut one of each pattern paper in two triangles
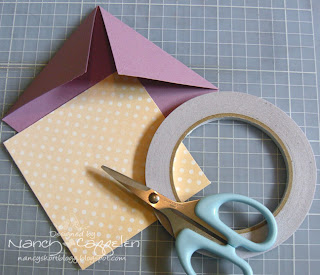
Glue one of the 4" x 4" paper inside the fold......
(This will be the inside of the bookmark.)
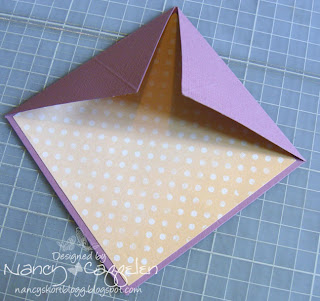
......like this
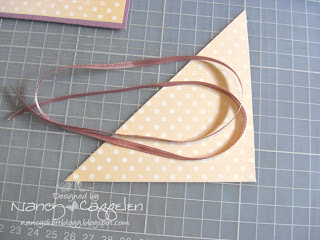
If you want a charm or pearls hanging from the top of your bookmark, you need a ribbon glued under the patten triangle from pattern paper 1
Glue it on to the folded corners..........
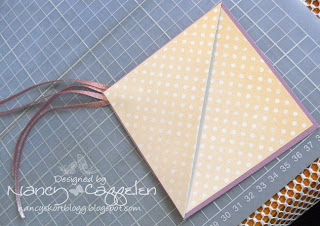
like this
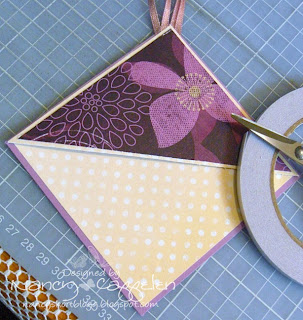
Now decorate with triangle from pattern paper 2
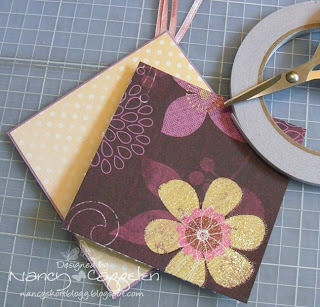
Decorate the back of the bookmark
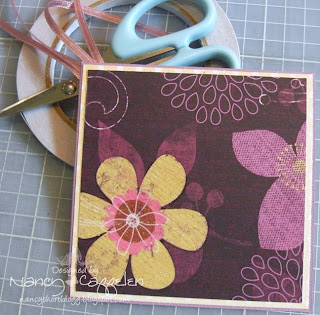
Bookmark ready to be decorated as you like it:O)
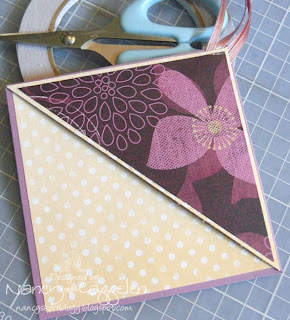
i.e. wth lace, ribbon, flower and a fav. image:O)
Be creative!!!
You can go HERE to see a decorated bookmark.
I would love to see your bookmark, so leave a link to the post, and I will come visit:O)
Hugs,
I would love to see your bookmark, so leave a link to the post, and I will come visit:O)
Hugs,


_-_Copy%5B1%5D.jpg)


.png)


.jpg)


.gif)
